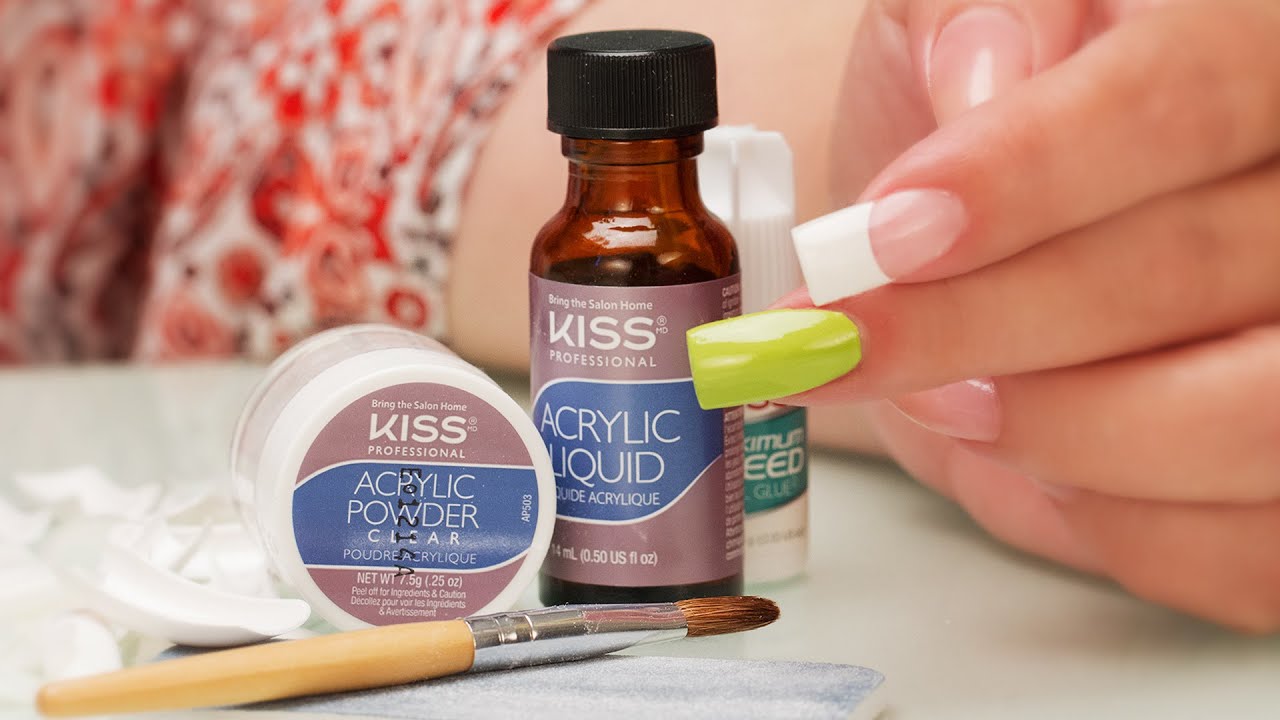
Kiss Acrylic Nail Kit Instructions Pdf
Diy Kiss Acrylic Kit A Pro Review Youtube
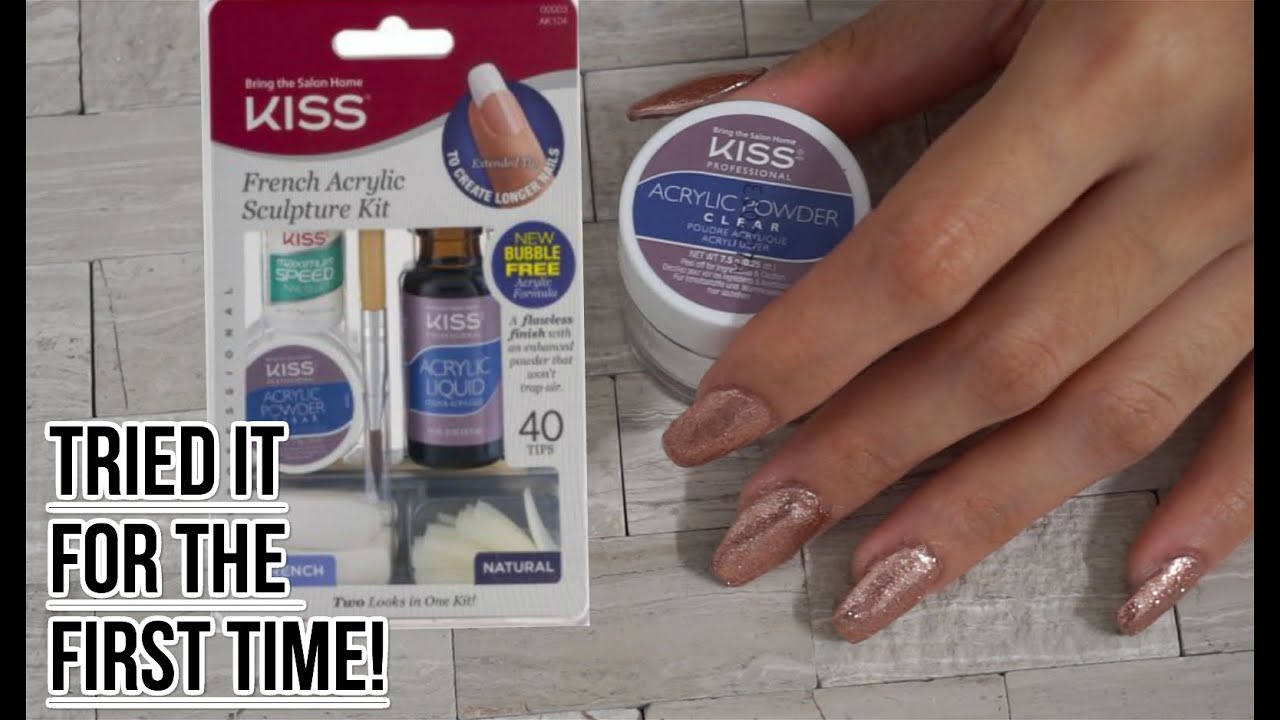
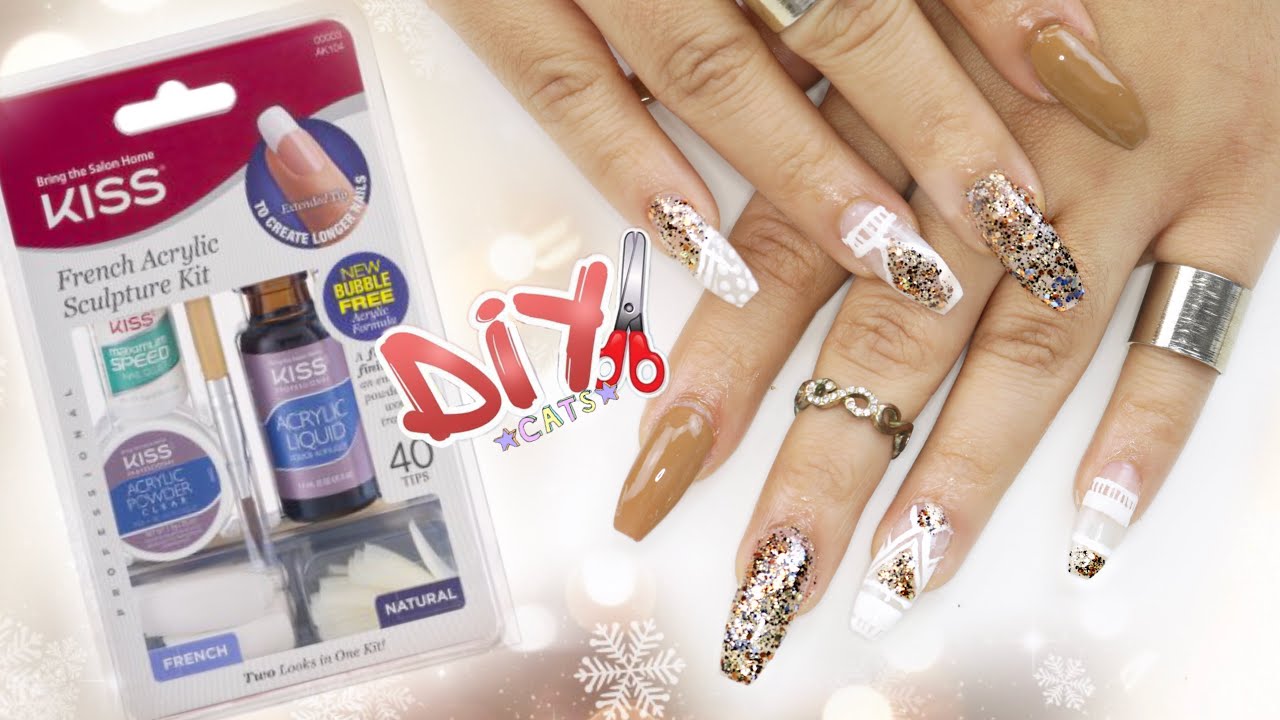
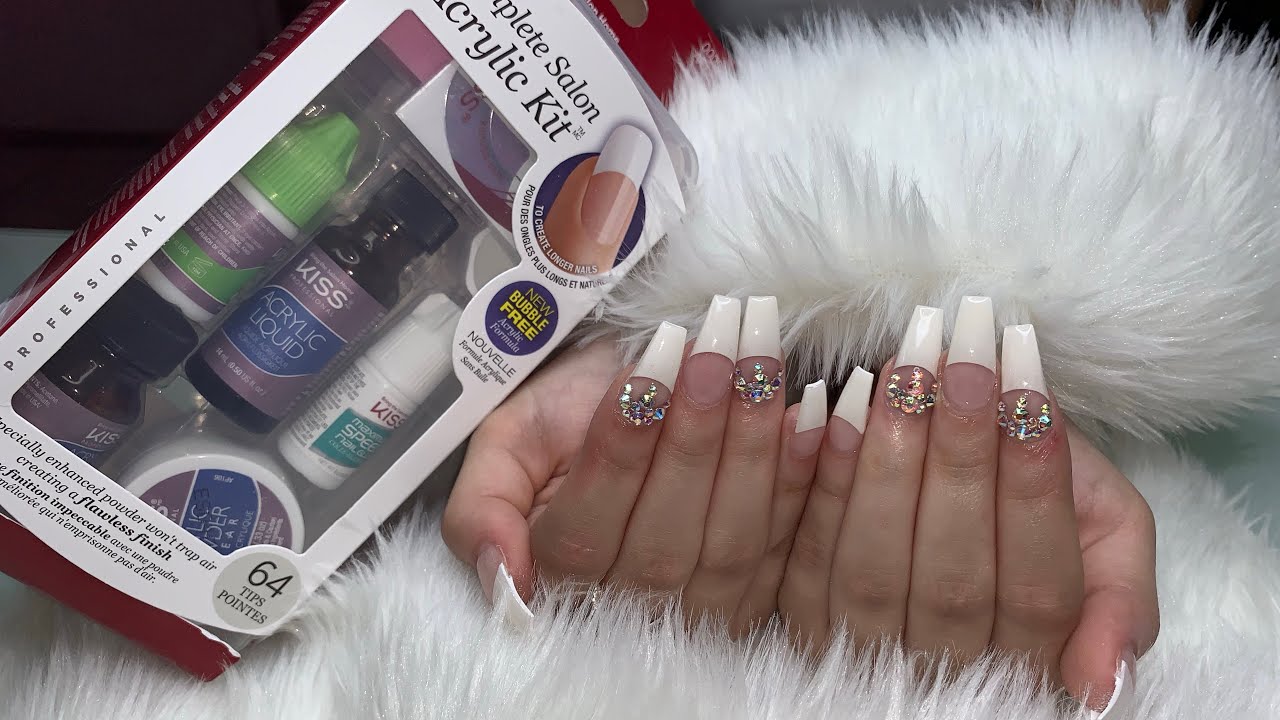
Kiss French Acrylic Sculpture Kit Bring The Salon Home Youtube

Kiss Acrylic Nail Kit Tutorial Youtube
Diy Kiss Acrylic Nail Kit Coffin Nails Step By Step Acrylic Nail Kit Nail Kit Diy Nail Kit

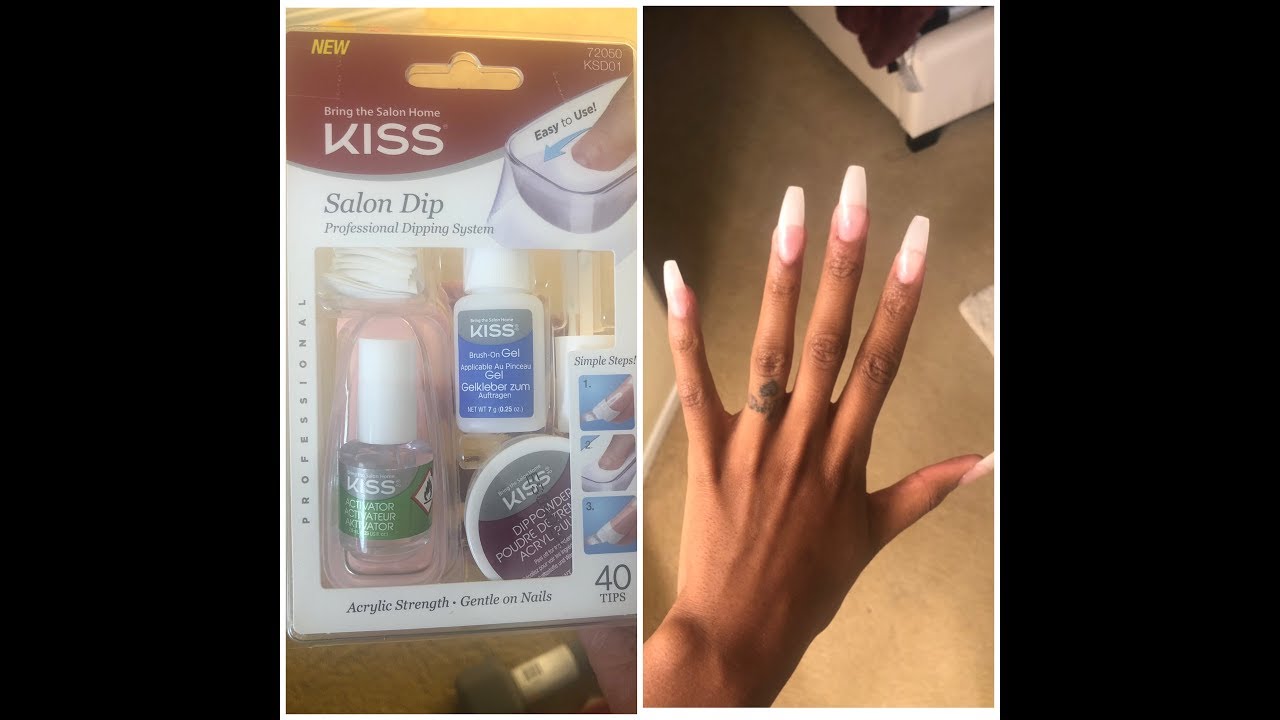
Kiss Salon Dip Professional Dipping System
Diy Acrylic Tutorial Kiss Professional Dip Powder Kit Acrylic Nail Kit Diy Acrylic Nails Acrylic Nail Supplies
Wipe off any residue.
Kiss acrylic nail kit instructions pdf. Repeat process as necessary. Gently buff area of new nail growth with the fine side of file blending existing acrylic overlay. Step 4 Use cotton balls and nail primer to remove any moisture or oil from the nails.
The Kiss Acrylic Manicure Kit offers salon-quality results. Then paint your nails with gel nail polish. Once you have your nails prepped and ready to go you are ready for step 1 in your new Dip Kit.
Otherwise stick around and we will walk through the proper acrylic application techniques and the best way to prepare apply and style your new acrylic nail tips. Cure the base coat under a UV lamp for 30 seconds. Place a small bead of acrylic mixture onto growth area where the natural nail meets the overlay.
Push your finger forward within the container and roll your finger gently. Use KISS Soak Off Remover Caps or KISS All or One Artificial Nail Remover. Gently remove softened overlay of color from the cuticle to free edge by using Manicure Stick.
Remaining oil will not allow the acrylic stick. Cure the first coat under your UV lamp. Be sure to always paint and immediately dip one nail at a time before moving on to the next finger.
Do not get on skin or cuticles. Using a Pinching Tool Optional After you have practised doing acrylic for a while or are confident doing basic acrylics you can use a pinching tool on the nail to make the nail longer more slender and to make a stronger C curve which will make the nail stronger. If you need more acrylic to cover the entire nail repeat steps 2-7 until youre happy with the coverage of the nail.

Diy Professional Coffin Nails 9 Long Lasting How To Coffin Shape Nails Youtube Acrylic Nail Kit Nail Kit Diy Acrylic Nails

Gelish Nail Polish Kit Instructions Flores Facil Pedicure
Diy Kiss Acrylic Kit Fullset Of Acrylic Nails Using Kiss Acrylic Kit 15 Acrylic Nails Kit Youtube


